GIVE THE PERFECT GIFT
Erin Mills Town Centre Gift Cards are the perfect choice for your gift giving needs.Purchase gift cards at kiosks near the food court or centre court, at Guest Services, or click below to purchase online.PURCHASE HEREHome
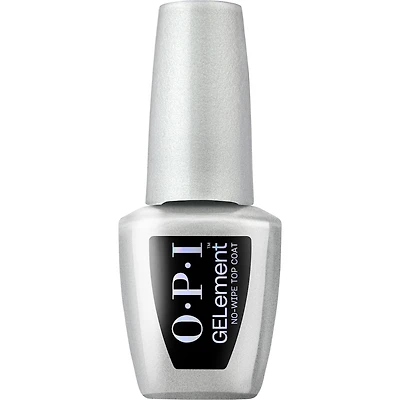
GELement™ UV/LED Gel Polish - Base Coat
Beauty Boutique
Loading Inventory...
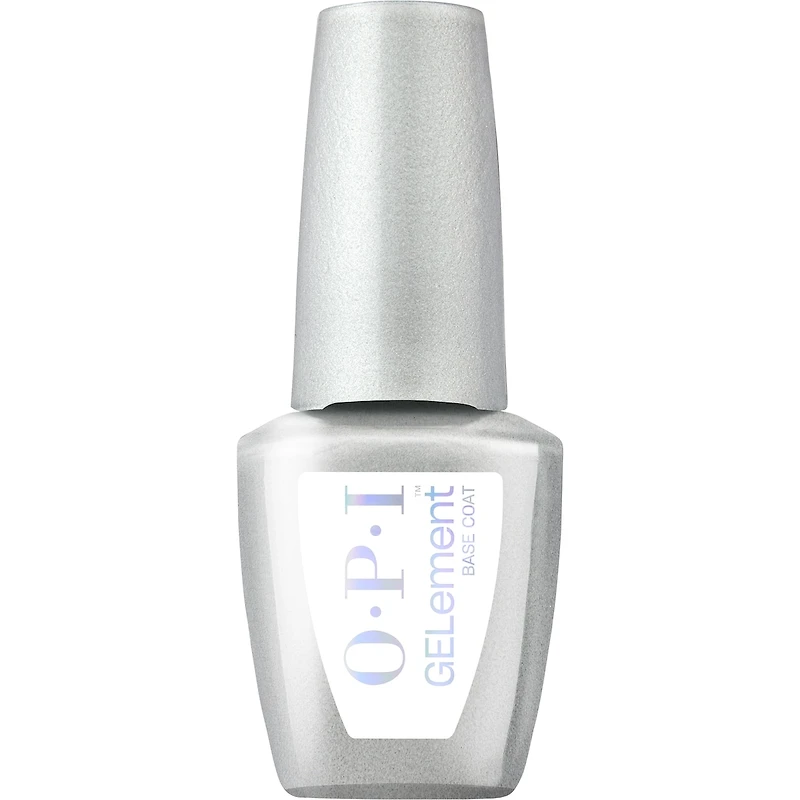
GELement™ UV/LED Gel Polish - Base Coat
By OPI
Current price: $19.99

By OPI
GELement™ UV/LED Gel Polish - Base Coat
Current price: $19.99
Loading Inventory...
Colour: Base Coat
Size: 9.0 mL
*Product information may vary - to confirm product availability, pricing, shipping and return information please contact Beauty Boutique
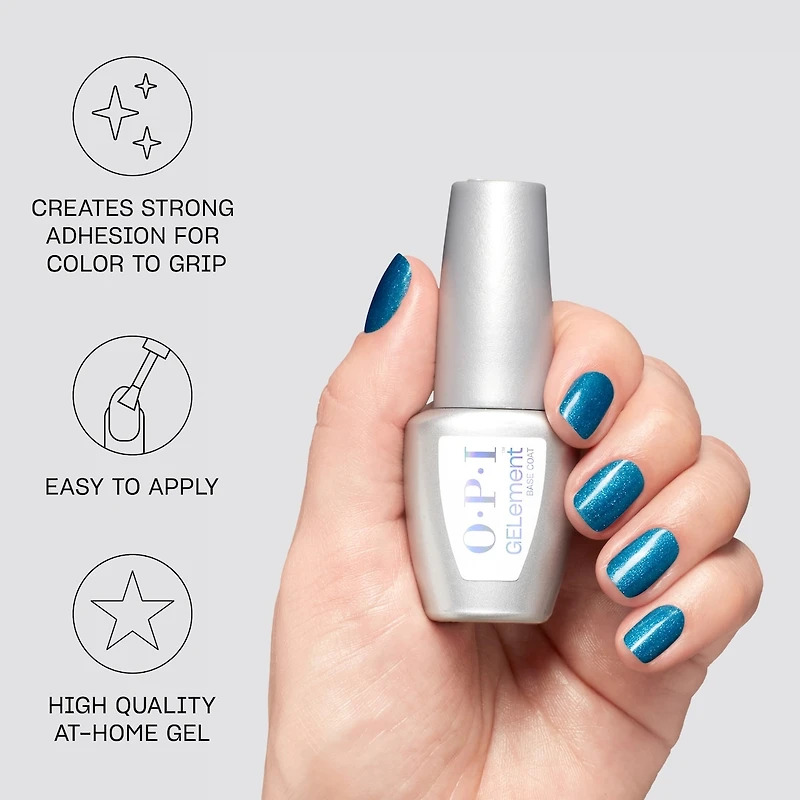
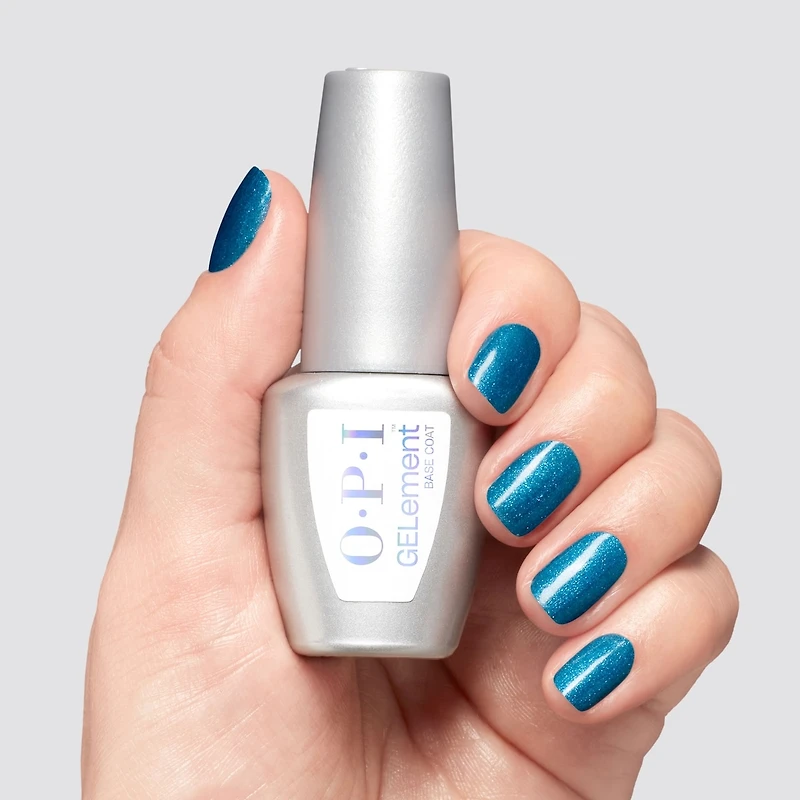
Let's get down to base-ics. This isn't just any base coat–it's the power player in your at-home gel game. With gripping power that creates the perfect foundation for your color to cling to–like velcro for your nails–it helps ensure your gel manicure stays put through whatever your hands encounter.
- High-quality at-home gel. Provides strong adhesion for color to grip onto. Easy to apply thanks to balanced viscosity. Vegan.* Created by the #1 salon nail brand worldwide.** *No animal-derived ingredients or by-products. **2022 Kline Professional Nail Care: Global Market Brief.
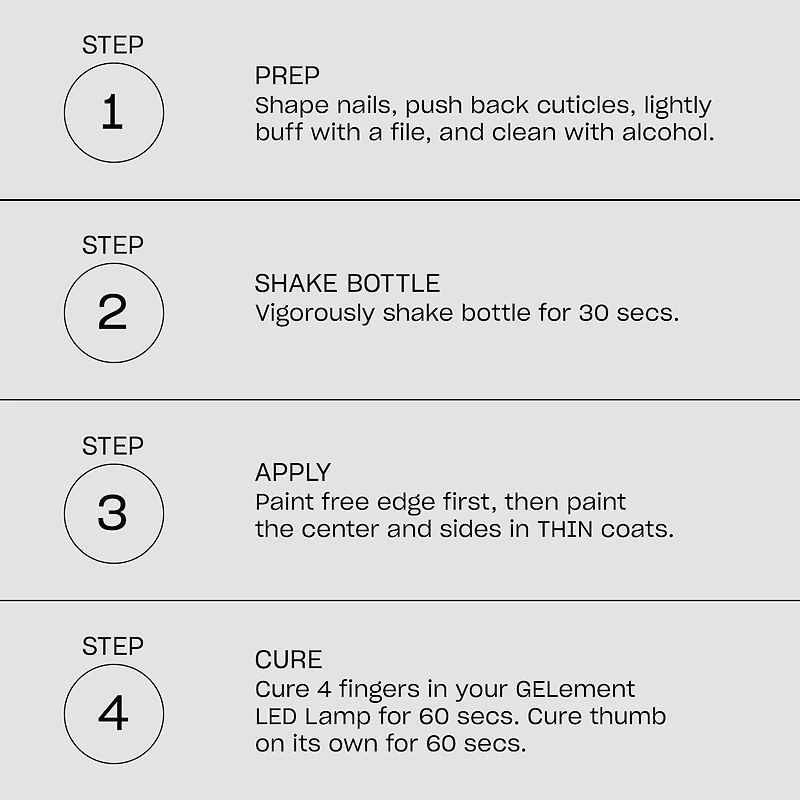
- PREP Pro Tip! Do not soak hands or wet them before or during your prep. Dry nails are crucial for proper adhesion. 1: Shape nails using the Shape Up side of the file in your Gel Essentials Kit or a regular nail file. 2: Gently push back cuticles from your nail plate using the wood cuticle pusher in your kit or any regular pusher. 3: Lightly buff with the Shape Up side of your 240 grit file from your kit or any regular nail file to remove the shine from your nails. Think gentle exfoliation, not construction work! 4: Wipe your nails with the Prep Pad from your kit or 99% Isopropyl Alcohol on a lint-free wipe–not cotton balls which can leave debris that'll mess with your gel finish. This removes debris and oil, and temporarily dehydrates your nails, creating the perfect foundation for strong adhesion. Pro Tip! Do not apply any hand creams or oils until AFTER your top coat is cured. APPLICATION Pro Tip! Do one hand at a time and keep coats THIN. We're not frosting a cake. Most importantly, keep gel OFF skin. 1: Set up your lamp. Using dry hands, plug the included USB cable into a standard USB wall charger and connect it to a wall outlet, or plug it into a laptop. 2: Shake ALL your bottles really well for 30 seconds to blend the ingredients together. 3: GELement™ Base Coat: Start by painting the free edge, then apply a THIN coat down the center, followed by each side. Make sure you avoid getting gel on your cuticles and skin by leaving a small space around the perimeter of the nail. 4: Cure: Insert 4 fingers all the way into your lamp. Hit the button and wait 60 seconds for the light to turn off. Then your thumb gets its solo moment for another 60 seconds. 5: Color: Start by painting the free edge, then apply a THIN coat down the center, followed by each side. Keep away from skin! 6: Cure: Insert 4 fingers all the way into your lamp. Hit the button and wait 60 seconds for the light to turn off. Then your thumb gets its solo moment for another 60 seconds. 7: Repeat steps 5-6 for a second coat. 8: GELement™ No-Wipe Top Coat: Start by painting the free edge, then apply a THIN coat down the center, followed by each side. Keep away from skin! 9: Cure: Insert 4 fingers all the way into your lamp. Hit the button and wait 60 seconds for the light to turn off. Then your thumb gets its solo moment for another 60 seconds. 10: Show those nails some love with Glow Up Nail & Cuticle Oil! Just a drop at each cuticle line will help moisturize your skin. For full tutorials and tips and tricks on how to prep, apply, and remove your gel, head to YouTube to watch GELiversity™.
- Di-HEMA Trimethylhexyl Dicarbamate, Ethyl Acetate, Alcohol Denat., Butyl Acetate, Heptane, HEMA, Hydroxypropyl Methacrylate, Nitrocellulose, Tosylamide/Epoxy Resin, Acrylic Acid, Trimethylbenzoyl Diphenylphosphine Oxide, Isopropyl Alcohol, Trimethyl Pentanyl Diisobutyrate, Polyvinyl Butyral, Isobornyl Methacrylate, BHT, Camphor, Calcium Pantothenate, Panthenol, Tocopherol Acetate, Benzophenone-1, Hydroquinone, p-Hydroxyanisole, Bis-Trimethylbenzoyl Phenylphosphine Oxide, [May Contain/Peut Contenir/+/-: Violet 2 (CI 60725)]
Let's get down to base-ics. This isn't just any base coat–it's the power player in your at-home gel game. With gripping power that creates the perfect foundation for your color to cling to–like velcro for your nails–it helps ensure your gel manicure stays put through whatever your hands encounter.
- High-quality at-home gel. Provides strong adhesion for color to grip onto. Easy to apply thanks to balanced viscosity. Vegan.* Created by the #1 salon nail brand worldwide.** *No animal-derived ingredients or by-products. **2022 Kline Professional Nail Care: Global Market Brief.
- PREP Pro Tip! Do not soak hands or wet them before or during your prep. Dry nails are crucial for proper adhesion. 1: Shape nails using the Shape Up side of the file in your Gel Essentials Kit or a regular nail file. 2: Gently push back cuticles from your nail plate using the wood cuticle pusher in your kit or any regular pusher. 3: Lightly buff with the Shape Up side of your 240 grit file from your kit or any regular nail file to remove the shine from your nails. Think gentle exfoliation, not construction work! 4: Wipe your nails with the Prep Pad from your kit or 99% Isopropyl Alcohol on a lint-free wipe–not cotton balls which can leave debris that'll mess with your gel finish. This removes debris and oil, and temporarily dehydrates your nails, creating the perfect foundation for strong adhesion. Pro Tip! Do not apply any hand creams or oils until AFTER your top coat is cured. APPLICATION Pro Tip! Do one hand at a time and keep coats THIN. We're not frosting a cake. Most importantly, keep gel OFF skin. 1: Set up your lamp. Using dry hands, plug the included USB cable into a standard USB wall charger and connect it to a wall outlet, or plug it into a laptop. 2: Shake ALL your bottles really well for 30 seconds to blend the ingredients together. 3: GELement™ Base Coat: Start by painting the free edge, then apply a THIN coat down the center, followed by each side. Make sure you avoid getting gel on your cuticles and skin by leaving a small space around the perimeter of the nail. 4: Cure: Insert 4 fingers all the way into your lamp. Hit the button and wait 60 seconds for the light to turn off. Then your thumb gets its solo moment for another 60 seconds. 5: Color: Start by painting the free edge, then apply a THIN coat down the center, followed by each side. Keep away from skin! 6: Cure: Insert 4 fingers all the way into your lamp. Hit the button and wait 60 seconds for the light to turn off. Then your thumb gets its solo moment for another 60 seconds. 7: Repeat steps 5-6 for a second coat. 8: GELement™ No-Wipe Top Coat: Start by painting the free edge, then apply a THIN coat down the center, followed by each side. Keep away from skin! 9: Cure: Insert 4 fingers all the way into your lamp. Hit the button and wait 60 seconds for the light to turn off. Then your thumb gets its solo moment for another 60 seconds. 10: Show those nails some love with Glow Up Nail & Cuticle Oil! Just a drop at each cuticle line will help moisturize your skin. For full tutorials and tips and tricks on how to prep, apply, and remove your gel, head to YouTube to watch GELiversity™.
- Di-HEMA Trimethylhexyl Dicarbamate, Ethyl Acetate, Alcohol Denat., Butyl Acetate, Heptane, HEMA, Hydroxypropyl Methacrylate, Nitrocellulose, Tosylamide/Epoxy Resin, Acrylic Acid, Trimethylbenzoyl Diphenylphosphine Oxide, Isopropyl Alcohol, Trimethyl Pentanyl Diisobutyrate, Polyvinyl Butyral, Isobornyl Methacrylate, BHT, Camphor, Calcium Pantothenate, Panthenol, Tocopherol Acetate, Benzophenone-1, Hydroquinone, p-Hydroxyanisole, Bis-Trimethylbenzoyl Phenylphosphine Oxide, [May Contain/Peut Contenir/+/-: Violet 2 (CI 60725)]